Crowded Airwaves: How to Reclaim Your WiFi Speed When Everyone Around You Is Competing for the Same Signal
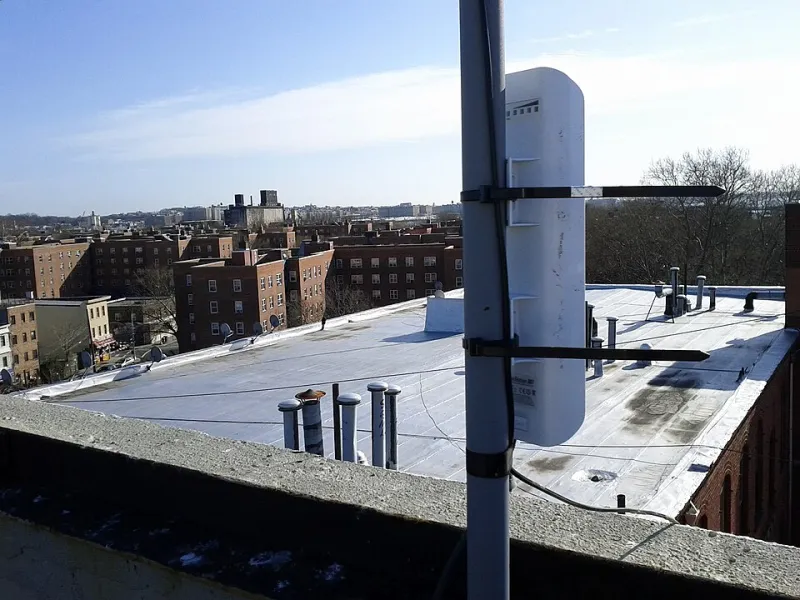
Photo: Alyx Baldwin, CC BY-SA 4.0, via Wikimedia Commons
You're paying for a solid internet plan. Your router is reasonably new. You're not streaming 4K on fifteen devices simultaneously. And yet—your WiFi crawls. Pages load like it's 2004. Video calls freeze at the worst possible moments. Sound familiar?
If you live in an apartment complex, a row of townhouses, or a densely packed neighborhood anywhere in urban America, there's a decent chance your problem isn't your equipment or your ISP. It's your neighbors.
Not them personally. But their routers. And their routers' routers. And the dozen other networks all fighting over the exact same slice of wireless spectrum as yours.
What Channel Overlap Actually Means (And Why It's Such a Problem)
Think of WiFi channels like lanes on a highway. Your router picks a lane to broadcast on, and ideally, the traffic in your lane is just yours. The problem is that most routers, by default, pick from a very small pool of channels—and when every device in your building is doing the same thing, you end up with a massive pileup.
On the 2.4 GHz band, which most older and budget devices still use, there are technically 11 channels available in the US. But here's the catch: those channels overlap with each other. Only channels 1, 6, and 11 are truly non-overlapping. That means in a 200-unit apartment building, potentially hundreds of routers are all crammed into three usable channels, constantly stepping on each other's transmissions.
The 5 GHz band is better—it has far more non-overlapping channels available, and fewer devices use it. But in high-density housing, even 5 GHz can get crowded in the channels that routers default to.
The result? Interference. Your router has to re-send data packets that got garbled in the chaos. Your speeds drop. Your latency spikes. And no amount of rebooting your router is going to fix what is fundamentally a congestion problem.
How to See the Problem for Yourself
The good news is you don't have to guess. There are free tools that let you literally see every network competing with yours.
On Windows: Download the free tool NetSpot (there's a solid free tier) or use the built-in command prompt command netsh wlan show all to see nearby networks and their channels. It's not pretty, but it works.
On Mac: Hold the Option key and click the WiFi icon in the menu bar. Select "Open Wireless Diagnostics," then go to Window > Scan. You'll get a full list of nearby networks, their channels, signal strength, and band.
On Android: Apps like WiFi Analyzer by farproc show a visual graph of all nearby networks across channels. It's genuinely eye-opening to see your channel absolutely buried under a pile of competing networks.
On iPhone: Apple locks down a lot of this data, but apps like Network Analyzer give you partial visibility. You may need a Mac or Android device for the full picture.
What you're looking for is which channels are least occupied in your immediate area. If channels 1 and 6 are packed with ten networks each and channel 11 only has two, that's a clear signal (literally) about where to move your router.
Changing Your Channel: Easier Than You Think
Most routers let you manually set your broadcast channel through the admin interface. You usually get there by typing 192.168.1.1 or 192.168.0.1 into your browser's address bar while connected to your home network. From there, look for Wireless Settings or Advanced Wireless options.
For 2.4 GHz, manually set your channel to whichever of 1, 6, or 11 is least congested in your scan results. Avoid leaving it on "Auto"—in dense environments, auto-selection often lands you on the worst possible channel because the algorithm doesn't always account for sustained congestion.
For 5 GHz, channels in the 36-48 range (lower UNII-1 band) are often defaults and get crowded. Channels in the 149-165 range (UNII-3) tend to be less occupied in residential areas. Check your scan data and pick accordingly.
After changing the channel, run a speed test and compare. In congested environments, the right channel switch can meaningfully improve both throughput and latency.
Going Wider: Channel Width Considerations
Modern routers let you choose channel widths—typically 20 MHz, 40 MHz, or 80 MHz for 5 GHz. Wider channels carry more data, which sounds great, but in congested areas they actually make interference worse because they overlap with more neighboring networks.
In a dense apartment building, dropping your 5 GHz channel width to 40 MHz instead of the default 80 MHz can sometimes improve reliability, even if the theoretical maximum speed goes down slightly. Stable and consistent beats fast-but-flaky every time.
The 6 GHz Option (If Your Hardware Supports It)
If you've got a WiFi 6E or WiFi 7 router and devices that support it, the 6 GHz band is currently your best escape hatch from congestion. It's a newer band, very few devices use it yet, and it offers a huge number of channels. In 2024 and 2025, most apartment buildings still have essentially zero 6 GHz traffic. If you're dealing with chronic congestion and your budget allows for new hardware, this is worth considering as a long-term fix.
QoS Settings: Prioritizing What Matters to You
Even after channel optimization, shared spectrum means you can't fully eliminate interference from neighbors. Quality of Service (QoS) settings on your router let you prioritize certain types of traffic—video calls, gaming, streaming—so that when bandwidth gets tight, the stuff that matters most to you gets served first.
Look for QoS or Traffic Priority settings in your router's admin panel. Many modern routers from brands like ASUS, Netgear, and TP-Link have fairly user-friendly QoS dashboards that let you set priorities without needing a networking degree.
The Neighbor Conversation (Yes, Really)
This one's a bit unconventional, but hear it out. If you live in a small building or a townhouse community and you know your neighbors reasonably well, there's actually something to be said for a quick, friendly chat about channel coordination.
If the two units on either side of you are all defaulting to channel 6 and you can collectively agree to spread out—one takes channel 1, one takes channel 6, one takes channel 11—everyone benefits. It's the kind of thing that sounds awkward but takes five minutes and can genuinely improve all three households' WiFi quality. Most people are surprisingly receptive when you explain it as a "we all win" situation rather than a complaint.
A Quick Troubleshooting Checklist
Before you throw money at the problem, run through this list:
- Scan your environment with a WiFi analyzer tool
- Identify the least-congested non-overlapping channel in your area
- Manually set your 2.4 GHz channel (1, 6, or 11)
- Manually set your 5 GHz channel (try 149-165 range)
- Consider reducing channel width on 5 GHz in very dense environments
- Enable and configure QoS if available
- Upgrade to WiFi 6E/7 if congestion remains severe and budget allows
Congestion is one of those problems that feels invisible until you know what to look for. Once you can see the crowded airspace around you, fixing it becomes a lot less mysterious—and a whole lot more satisfying.